The Vendor module stores information about external vendors who provide items that are stored in the warehouse. They may be classified by category and type. Vendors respond to purchase orders through which purchases are made, and inventory is received into the warehouse.
By clicking on the Vendor Master link listed under the Vendor collapsible menu, you can see a list of all Vendors listed for your warehouse.
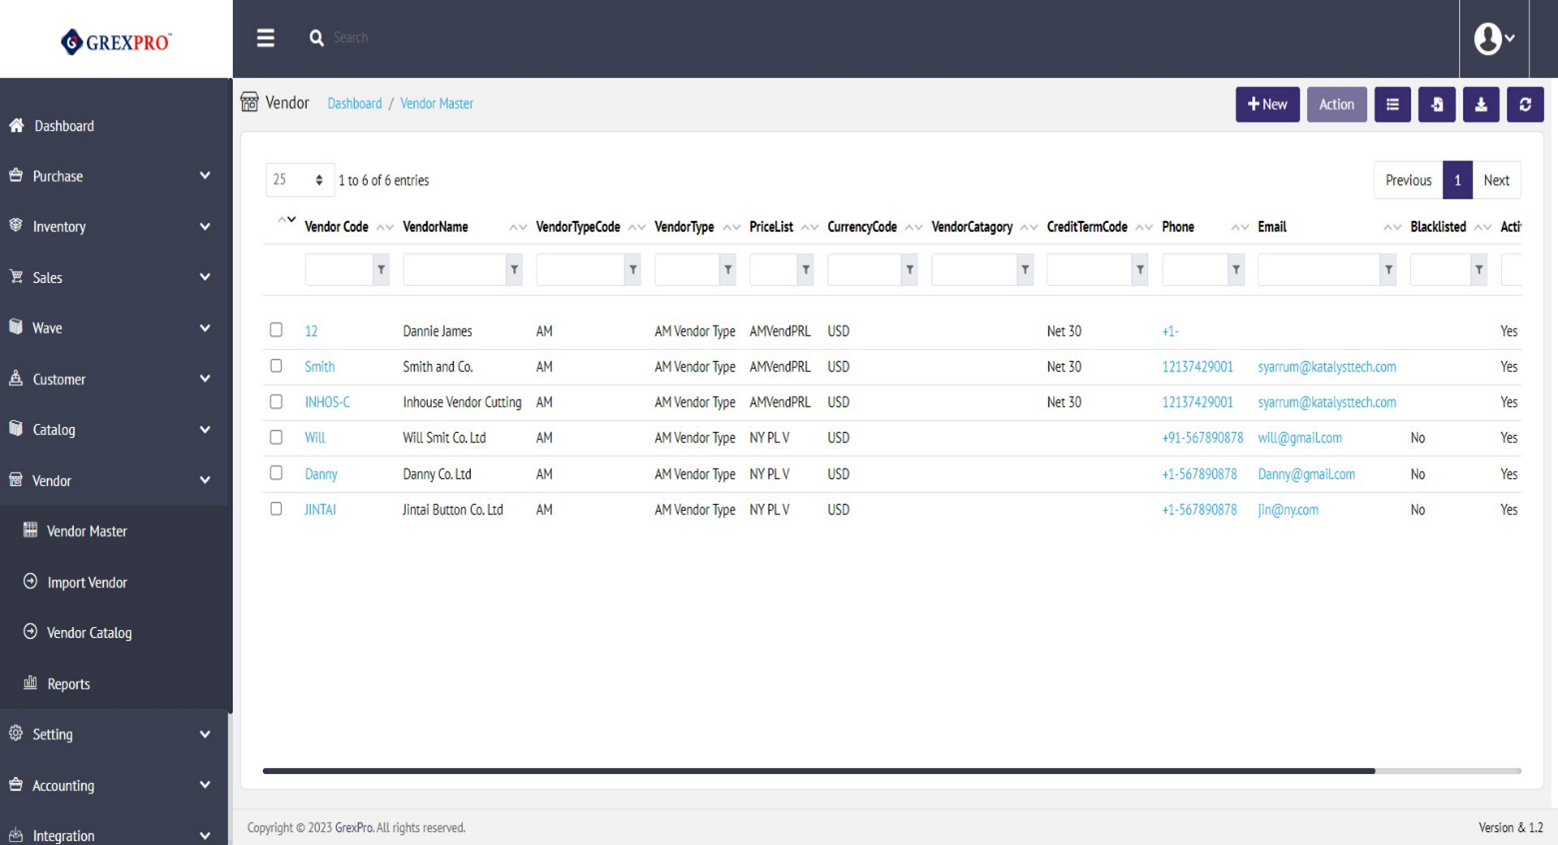
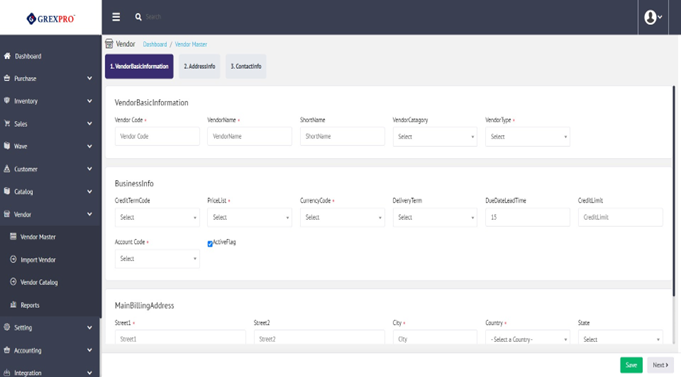
You can also add a new vendor using the 'New' button located at the top right corner of the screen. The process of adding a vendor is divided into three parts. After clicking the 'New' button, you will land to on the following page, where you need to provide Basic Information, Business Information, and Address about the vendor. After clicking on the Next button, it will take you to the second part.
In this phase, you can add multiple delivery addresses. To add a delivery address, click on the 'Delivery Address' button located at the bottom right corner, which will open a pop-up.

You need to fill in the form and click on the Submit button. This will add an address to a list of delivery addresses under the specific vendor.
To move to the third and last phase of adding vendor, you need to click on the 'Next' button located at the bottom right corner. The third phase allows you to add the contact information of the Vendor.
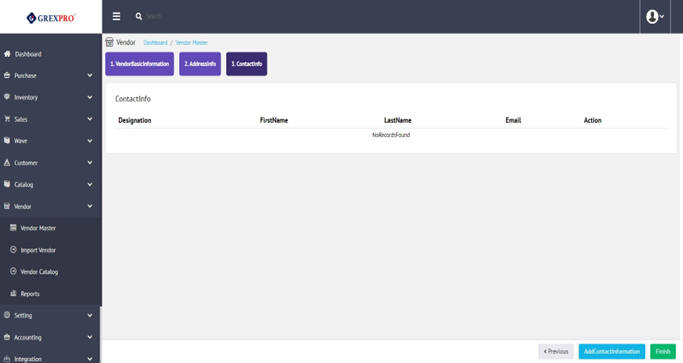
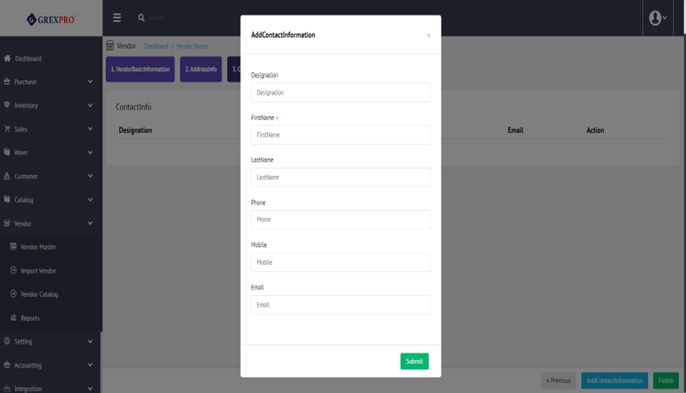
To add contact information, you need to click on the 'Add Contact Information' button located at the bottom right corner of the screen, which will open below a pop-up. Click on the Submit button after filling all the required details.
To complete the vendor addition, you need to click on the 'Finish' button located at the bottom right corner.
You can edit and update the existing vendor simply by clicking on 'Vendor Code' from the Vendor Master List. You can also edit vendor by selecting a specific vendor and clicking on the 'Action' button located at the top right corner of the screen. This will open a dropdown and you need to click on the edit option from the dropdown. After clicking on vendor code, you need to follow the same process as adding a vendor.

You can simply create a duplicate vendor with different vendor code. For this, you need to select a vendor and click on the 'Action' button located at the top right corner of the screen, where you will get the option of Clone. Clicking on Clone will create a duplicate vendor, but you need to give a unique value for the Vendor Code.
The Delete option is only available for entries which are not interlinked with other modules of the system. To delete an entry, you need to select an entry and click on the 'Action' button located at the top right corner of the screen , and click on the 'Delete' option from the dropdown.
The option to change status is only available for entries which that are not interlinked with other modules of the system. To change the status of an entry, you need to select an entry and click on the 'Action' button located at the top right corner of the screen, and click on the 'Active/Inactive' option from the dropdown.
The Export button given at the right corner of the screen facilitates allows you to download a list of visible email categories.
Simply by clicking onthe 'Import' button placed at the right corner of the page, you can import details of vendors from the integrated website.
Import Customer is a feature by which users can import Vendor data into the Celero system from data saved into CSV format file.
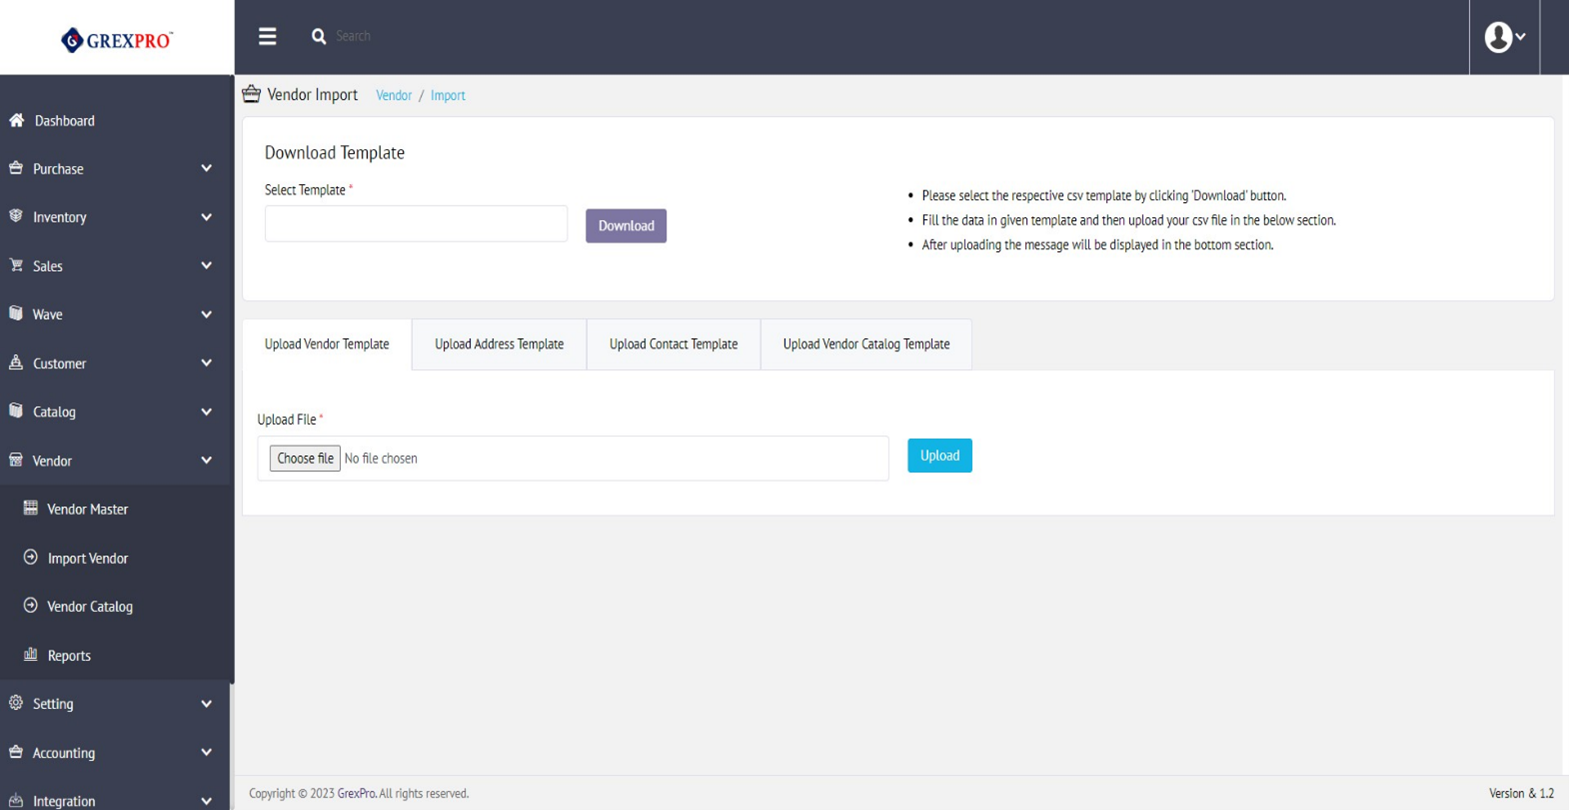
To import the data, first the user needs to download the template created for the process. To download the template for Vendor, user can select the template like such as Vendor Master, Vendor Address, Contacts, & Catalog and then by using the “Download” button user can download the selected template(s).

After downloading, the user needs to fill in the data in the given format and then try to upload the file by using the “Choose file” option in the upload area. Once the file is chosenn, the user can click the upload button, and then the data uploading process starts.
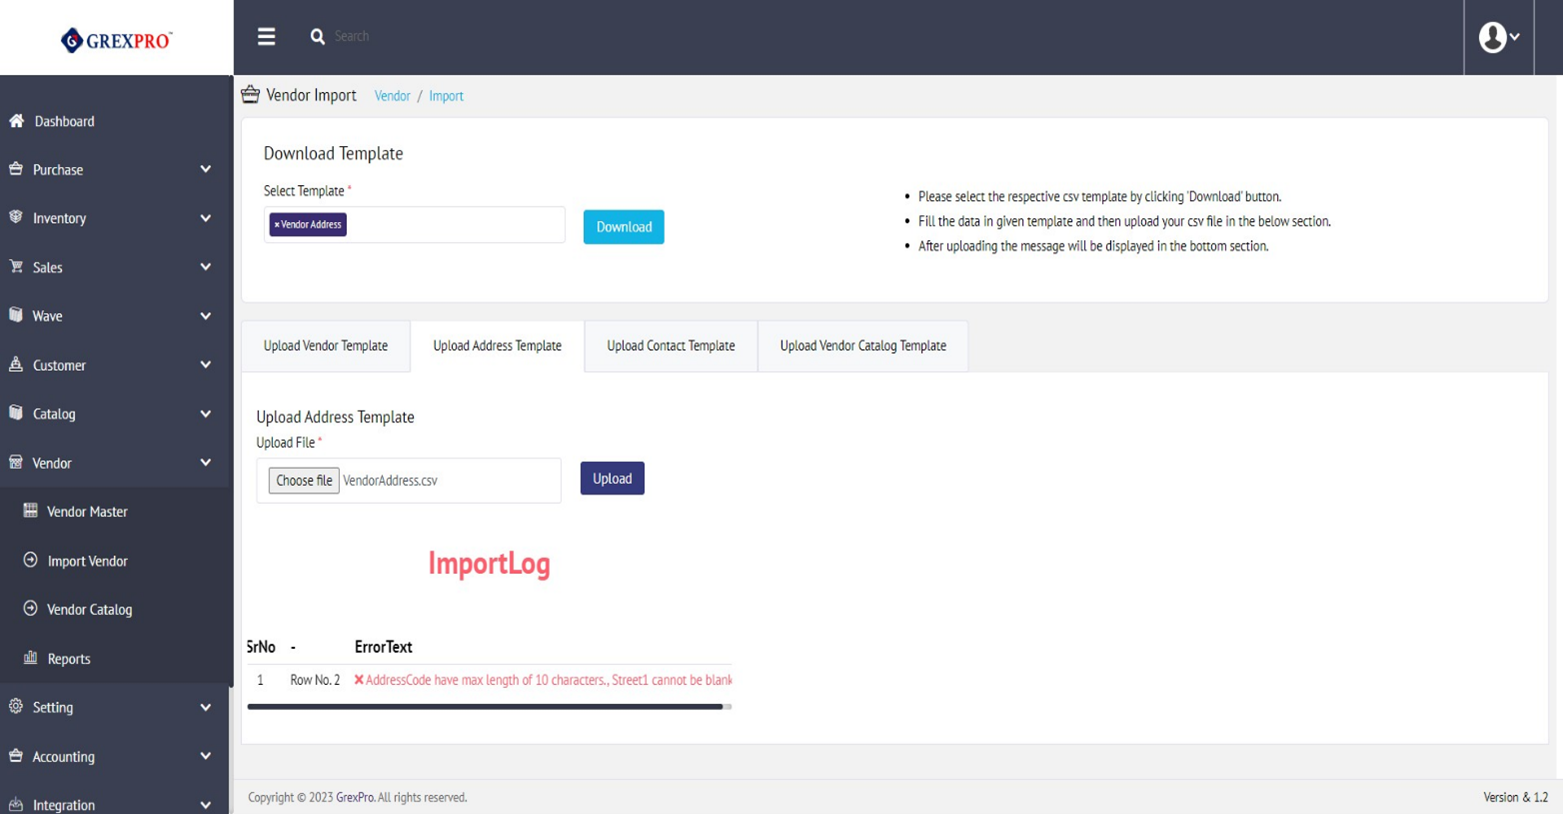
If all data is uploaded successfully, then also log is also displayed by the system.
Logs displayed can be cleared using the by “Clear Log” button in the Upload section.
Similarly, Vendor Addresses, Contacts, and Catalogs data can also be uploaded into the system from CSV file.
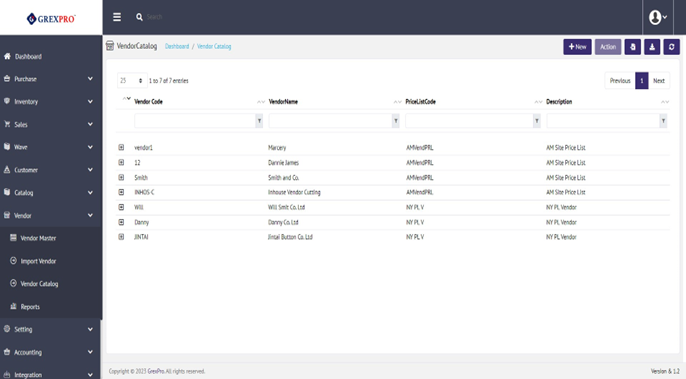
You can also add a new vendor using the 'New' button located at the top right corner of the screen. The process of adding a vendor is divided into three parts. After clicking the 'New' button, a new pop-up will appear for adding vendor catalog details will show:

The Export button given at the right corner of the screen facilitates allows you to download a list of visible email categories.
Simply by clicking on the 'Import' button placed at the bottom center of the page, you can import details of vendors from the integrated website.