These provide you with an option to integrate your existing website to the Grexpro WMS. With this option, you can import products from your website to the system, also you can export the products from this system into the integrated website.
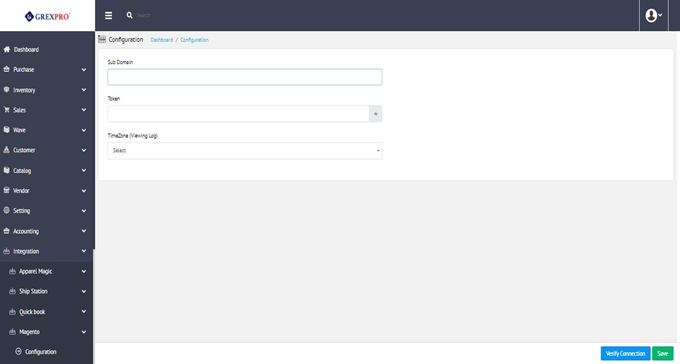
You can configure your Apparel Magic API with the Grexpro WMS by providing a sub-domain, token, and time zone. You need to verify the information in order to integrate a website to with the system. You can do soso by clicking on the 'Verify Connection' button available at the bottom-right corner, and to store details, click the 'Save' button placed next to the verify connection's button.

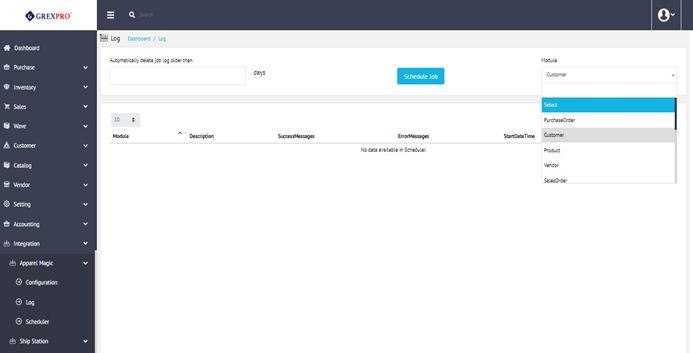
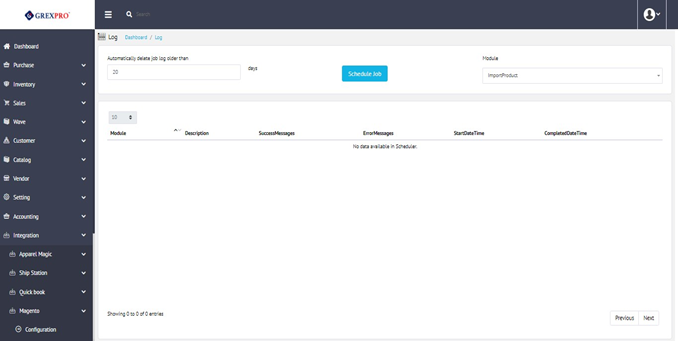
Here you can see the log for modules, including Purchase Order, Customer, Product, Vendor, Sales Order, Invoice, Receipt, Inventory, Sales return, Order invoice, Credit Memo, Invoice tracking no., partial cancel SO, and Partial cancel SO imported from the integrated website.
You can create a job to delete old records (1). For this, you need to enter a number of days after which you want to delete the entry and click on the Schedule Job button located beside the textbox.
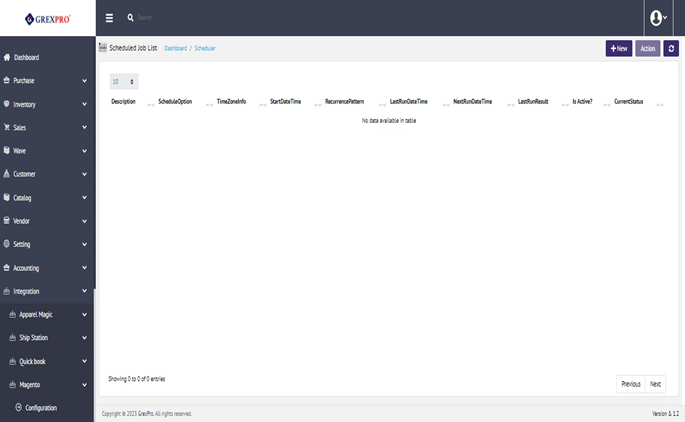
You can schedule tasks (one per module) for modules, including Purchase Order, Customer, Product, Vendor, Sales Order, and Receipt imported from integratedthe integrated website.
To schedule a new task, click on the 'New' button located at the top-right corner of the Scheduler screen, which will lead you to the following screen. Simply select module name and provide some mandatory information including recurrence pattern (how often you want to perform the specific task), time zone information, and you can save the scheduler.

And if you are selecting Repeat After Time Interval, Daily, Weekly, or Monthly in recurrence pattern dropdown, then you need to mention interval details.

To edit any scheduler, select a scheduler from the list, and then click on the Action button located at the top-right corner of the screen and select the Edit option from the dropdown.

To delete a scheduler, select it from the list, then click on the Action button located at the top-right corner of the screen and select the Delete option from the dropdown.
Ship Station allows creating Shipping Labels for the courier services at the time of packing. We need to integrate the Grexpro with the Ship Station application. We need to access Ship Station account to connect both the applications. When you log in to Grexpro in the Integration menu go to the sub-menu Ship Station Configuration. You have to enter the APIKey and APISecret that is pulled from the Ship Station application. After entering this information, you can verify the connection with Ship Station and import shipping methods.
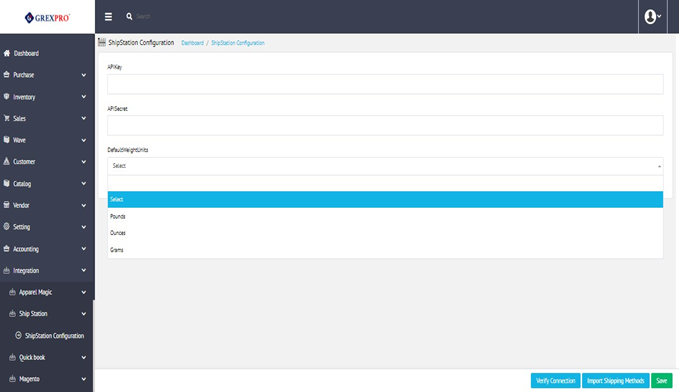
There are different shipping services that should be imported from the Ship Station application, and you can do it from the settings in that application.
From this page, you can map account code of the Client and Quick Book. You simply need to select values from the dropdown and click on the Save button located at the bottom-right corner.

Clicking on the Connect option from Quick Book section, the following screen will get open in the new window:
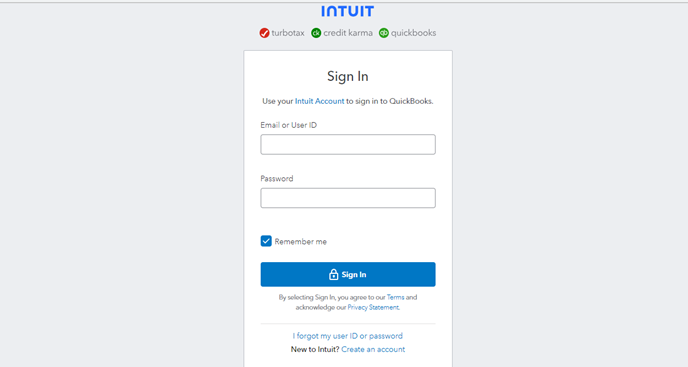
After entering the credential, it will take you to the following verification page, where you can see two options:
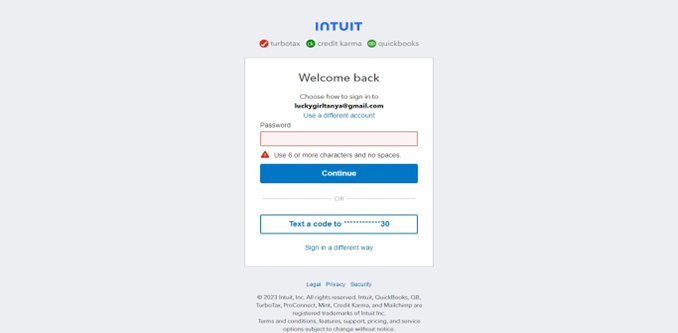
If you opt for the first option, which is OTP, you will receive an email with OTP on the registered email IDid that you need to insert or directly you can add the password and it will be logged in.
QuickBooks item setting consists of three fields - Item Configuration, Custom field configuration, and Tax Services Account. Once all the sections are completed you can click on the 'Save' button.


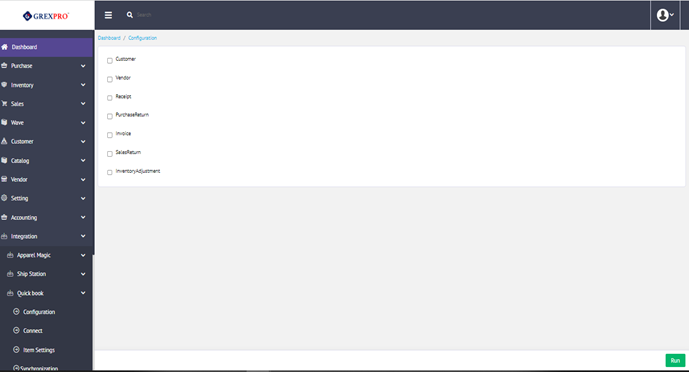
When you will click onIf you click synchronization, it will redirect you to a new page where you can select any of the following option to get synchronized:
Customer, Vendor, Receipt, Purchase Return, Invoice, Sales Return, and Inventory Adjustments.
When selected you can click on the 'Run' button the selected data will be synchronized in the Quickbooks.
In accounts mapping, there will be types of account - Asset, COGS, Equity, Expenses, Liability, Revenue, and Others.
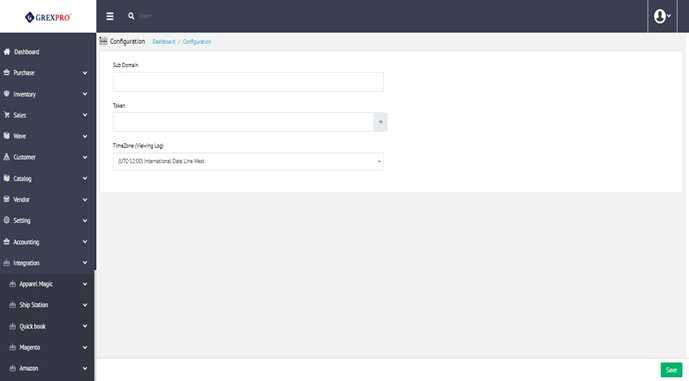
This is a basic requirement to integrate Magento with Grexpro. All the databases for inventory, sales orders, shipment details, product details, and other more details are enabled within Grexpro and Magento. We need to set authorization and the shipment details should be synchronized for both the environments.
The first step to ensure accessibility is to configure Grexpro with Magento. This process is provisioning end user defined values to enable accessibility for the Magento settings. In Grexpro application you need to navigate Integration > Magento > Configuration and save the configuration after verifying the connection. Before you traverse for Integration in Grexpro, you should have authorization levels to configure Magento.
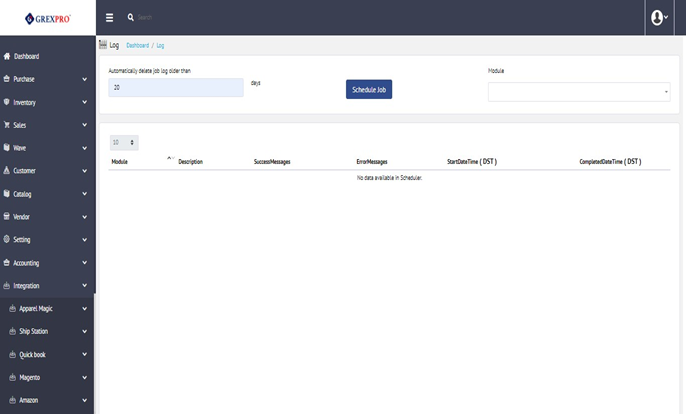
Here you can see the log for modules, including Export Customer, Export Product, Import Sales Order, Export/Invoice, Export Inventory, Import Customer, Import Product, and Import Invoice imported from the integrated website.
You can create a job to delete old records. For this, you need to enter the number of days after which you want to delete the entry and click on the Schedule Job button located beside the textbox.
Scheduled Job List contains the Module name, it's description, Schedule load, Recurrence pattern, Time zone info, and Start date & time. Scheduler will be useful to schedule the list of jobs.
To add a new Scheduler for Job, you need to simply click on the 'New' button located at the top-right corner of the Scheduled Job List page.
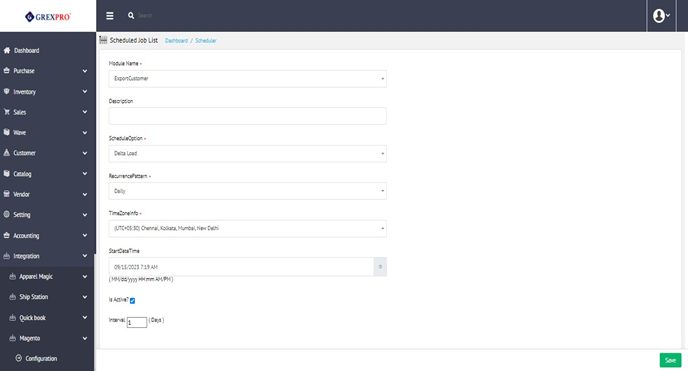
Once done filling with the details click on the 'Save' button.
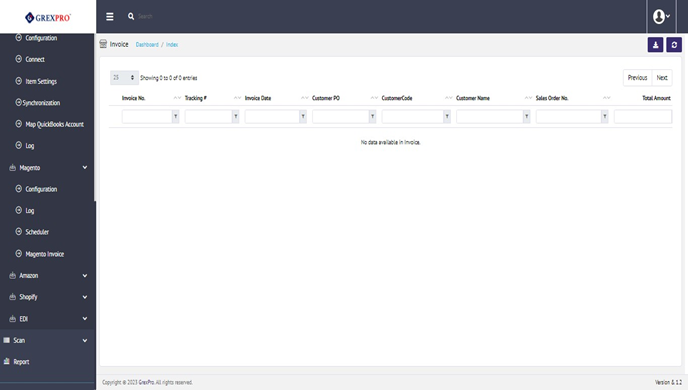
The Invoice section will consist of Invoice Number, Tracking Number, Invoice Date, Customer PO, Customer Code, Customer Name, Sales Order Number, & and Total Amount.
Here, you can check the Magento Invoice list and can be download ited by clicking on the 'Export icon' in the right corner of the invoice page.
This is a basic requirement to integrate Amazon with Grexpro. AWS helps to streamline warehouse operations. We need to set authorization and the warehouse operations details should be synchronized for both Grexpro and AWS environment.
From this page, you can map the account code of Client and Amazon. You simply need to provide AWS access key, secret key, time-zone info, marketplace, and other details from dropdown and click on the Save button located at bottom-right corner

You can create a job to delete the old records . For this, you need to enter the number of days after which you want to delete the entry and click on the Schedule Job button located beside the textbox.
Also, after selecting the type of module the scheduled job log will display and you can create a Copy, Excel download, CSV, PDF, and Print of the log.

Scheduled Job List contains the Module name, It's description, Schedule load, Recurrence pattern, Time zone info, and Start date & time. Scheduler will be helpful to schedule the list of jobs.

This is a basic requirement to integrate Shopify with Grexpro. Shopify helps to keep tracktrack of inventory across multiple warehouse locations, streamline the procurement process, keep inventory quantities accurate, and easily move inventory across your supply chain. We need to set authorization and the warehouse operations details should be synchronized for both Grexpro and Shopify environment.
From this page, you add information to the sub domain such as name, token no., and time zone from the dropdown and then click on the Save button located at the bottom-right corner.
You can create a job to delete old records. For this, you need to enter the number of days after which you want to delete the entry and click on the Schedule Job button located besides the textbox.
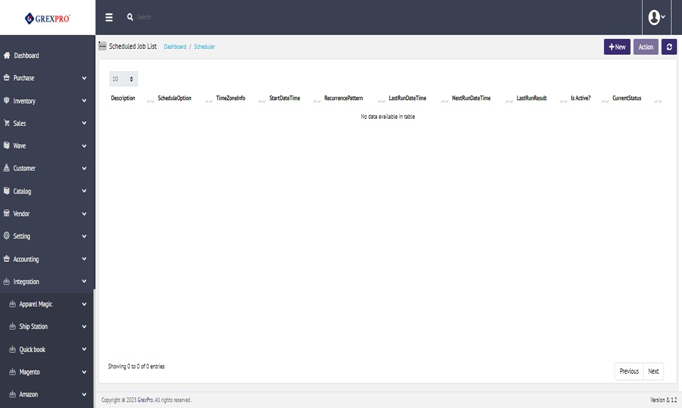
Scheduled Job List contains the Module name, its description, Schedule option, Recurrence pattern, Time zone info, start date & time, last run date & time, next run date & time, last run result, Is active ?, current status. Scheduler will be helpful to schedule the list of jobs .
EDI solutions streamline processes and reduce manual work, leading to higher efficiency and productivity in the warehouse. By automating tasks like order processing, invoicing, and shipment tracking, you can free up valuable time and resources to focus on other aspects of warehouse management. We need to set authorization, and the warehouse operations details should be synchronized for both Grexpro and EDI environments.
You can configure your EDI with Grexpro WMS by providing a Storage system, URL, Username, Password, and & Time zone. You need to verify the information in order to integrate a website into the system. You can do so by clicking on the 'Verify Connection' button available at the bottom-right corner, and to storage details, click the 'Save' button placed next to the verify connection's button.

You can create a job to delete old records. For this, you need to enter the number of days after which you want to delete the entry and click on the Schedule Job button located beside the textbox.
Also, after selecting the type of module, the scheduled job log will display, and you can create a Copy, Excel download, CSV, PDF, or Print of the log.

The sScheduled Job List contains the Module name, it's description, Schedule option, Recurrence pattern, Time zone info, start date & time, last run date & time, next run date & time, last run result, Is active ?, current status . The sScheduler will be helpful to schedule the list of jobs .
