You can log in to the Grexpro WMS using the credentials provided by the administration or super admin.
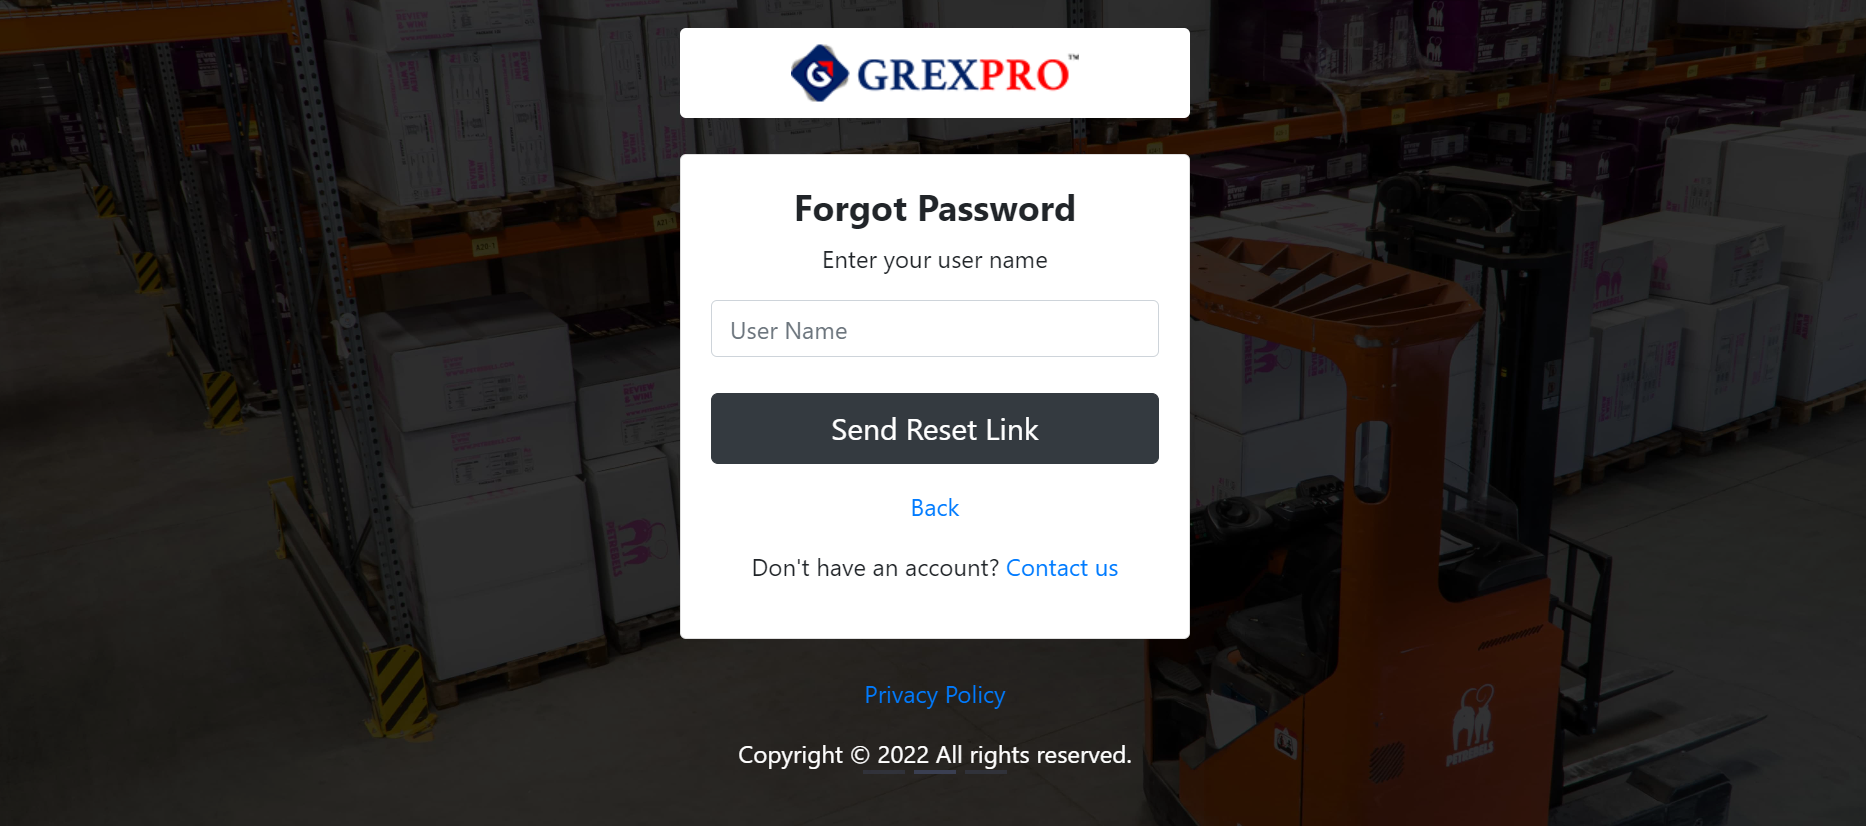
You can reset your password using the “forgot password” link on the login screen. The link will redirect you to the following page where you need to provide Username and click on the 'Send Reset Link' button. You will receive an email with a password reset link.
You can find a Contact Us button on the login page; you will be led to the following screen:

On successful login, the system shall display the page shown here, and you can access all functionalities. The dashboard is made up of a standard left navigation panel, which is displayed on every page within the application and you will have direct access to reports, including Purchase Orders, Sales Orders, Inventory, Customers, and Vendors. Also, you can see a graphical representation of data from the system.
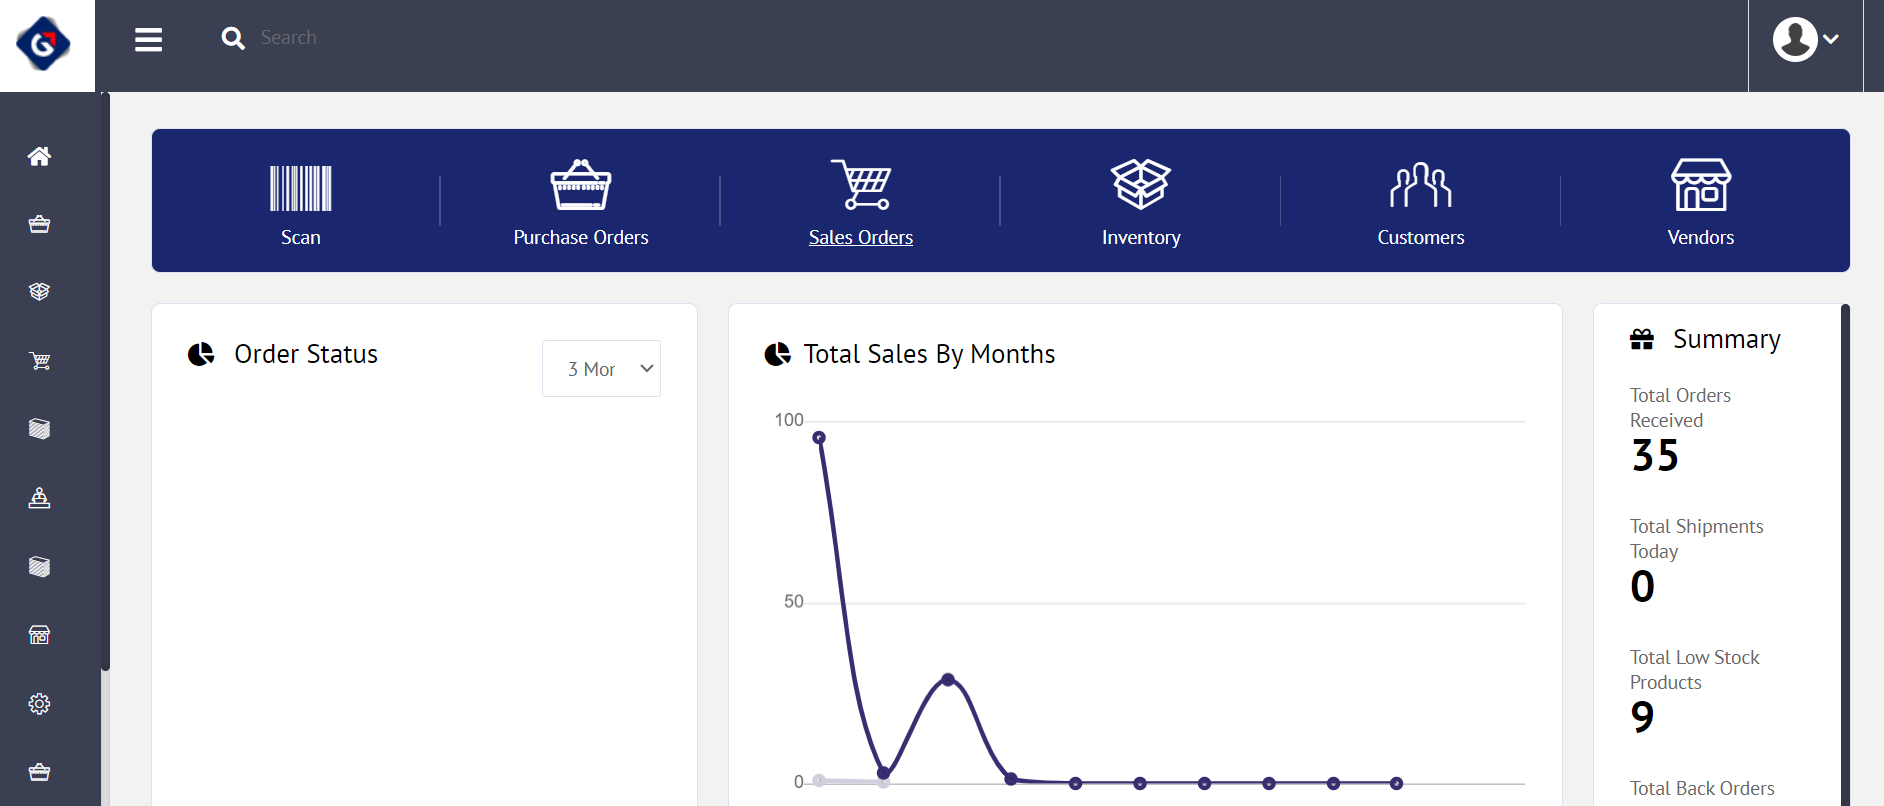

There are different widgets on the dashboard such as:
The Navigation Panel is used as follow:

At the top right of the dashboard, there is the profile icon which consist of - Profile view, Version, and Logout.
At the top right, when user clicks the three lines icon, the detailed view of the side (navigation menu) will display, Also, beside the menu icon, the search bar will allow to search for the desired concern.
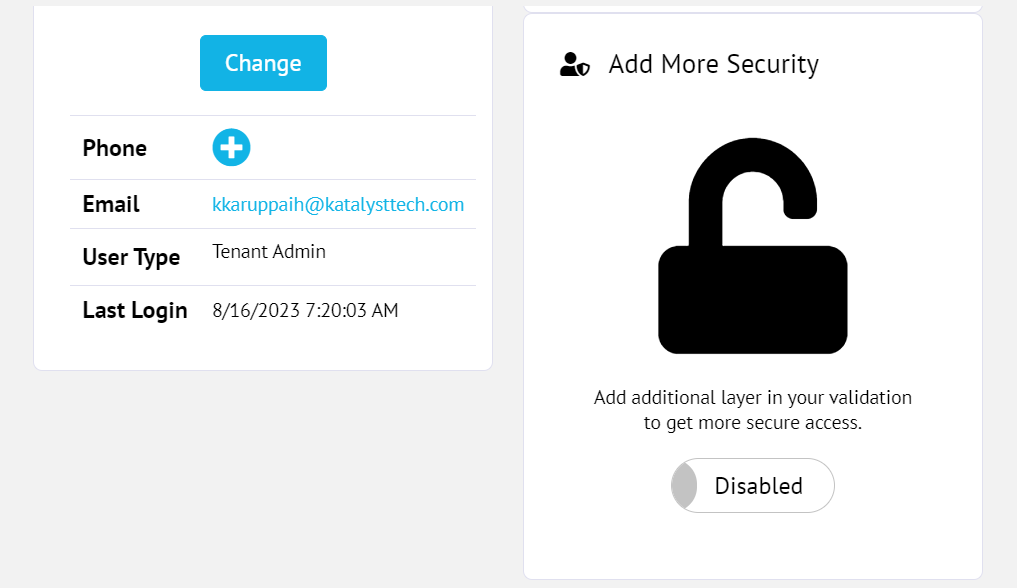
When the user clicks on the profile option, the profile page will open, where the user can make changes.

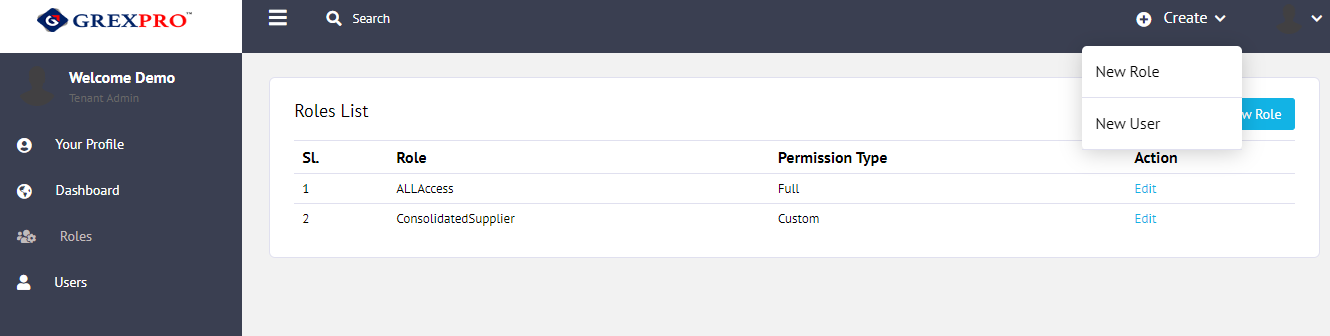
This option is only available for tenant admin. You can add new roles, which are useful for creating users. On the roles landing page, you can see a list of all roles.

There are two ways to create a role - either click on Add New Role or click on the +Create New button, which will open a dropdown from which you need to select New Role to open the main form:
The process is divided into two sections. In the first section, you can give the name of the Role, and in the second section, you can give authority, which can be either custom or all.
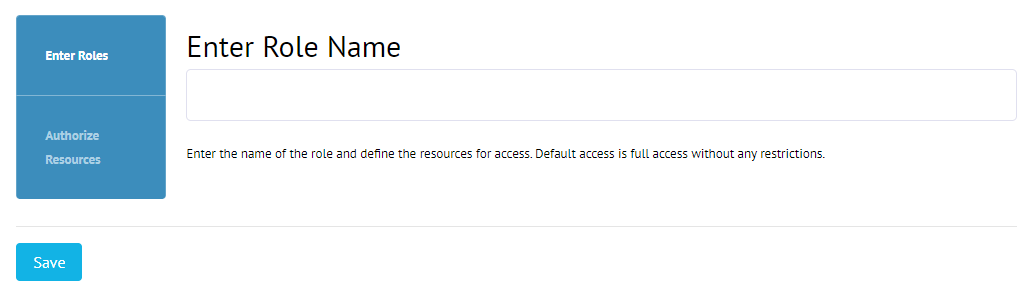

If custom is selected in the step 2, you can see the option to give access to different sections of the system by selecting multiple checkboxes.

Once done, click on the Save button situated at the bottom of the screen.
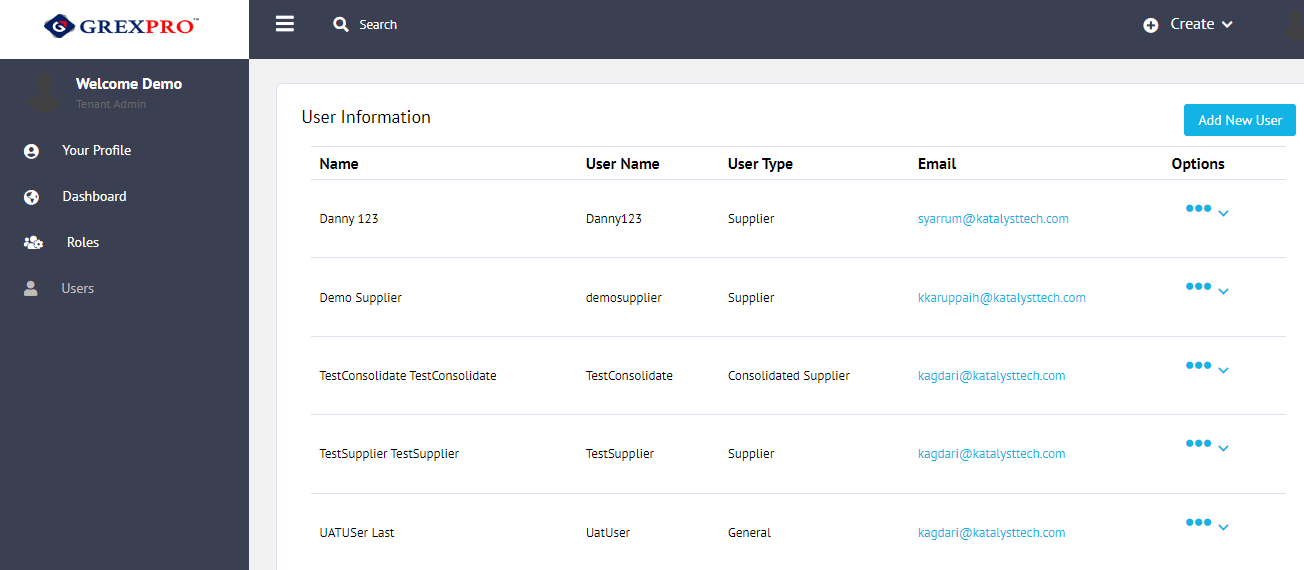
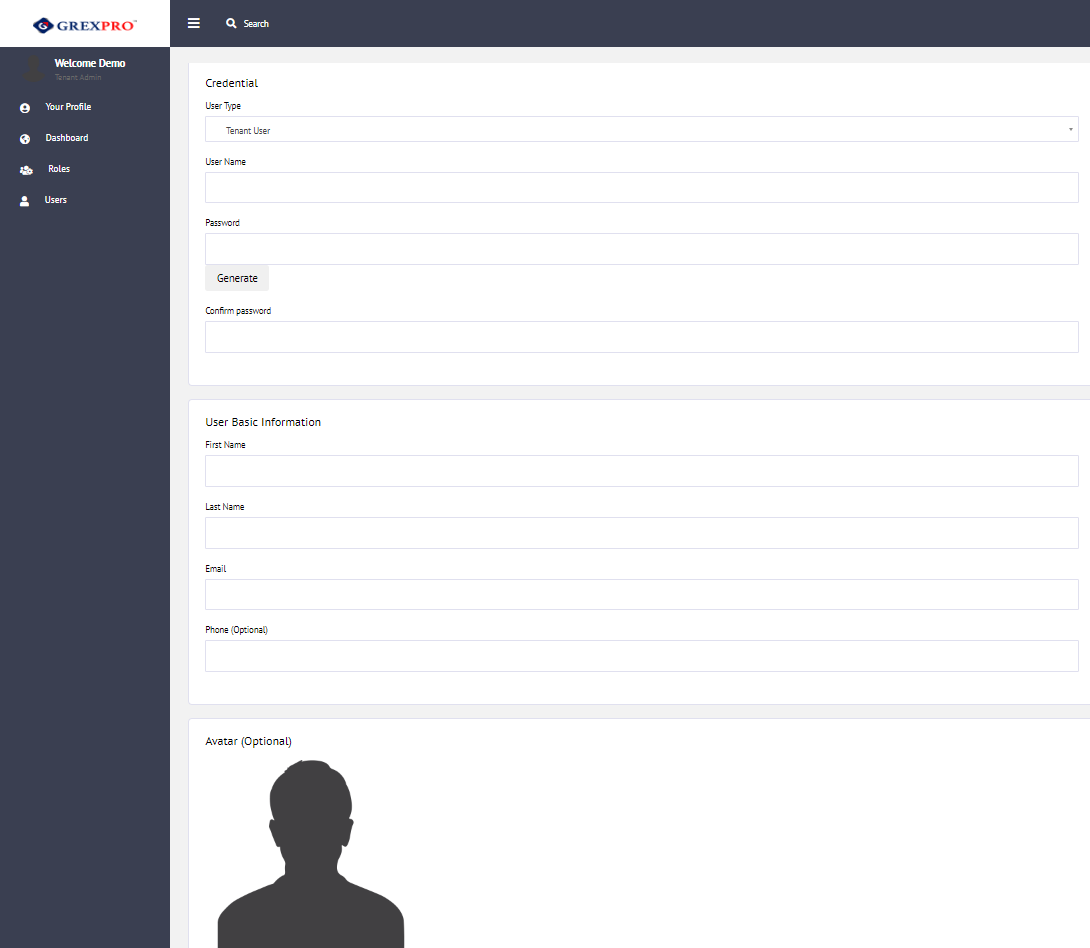
Only the super admin can create Tenant Admin. To create a Tenant Admin, he/she needs to click either on Add New User or click on the +Create New button which will open a dropdown, from which you need to select New User to open the main form:
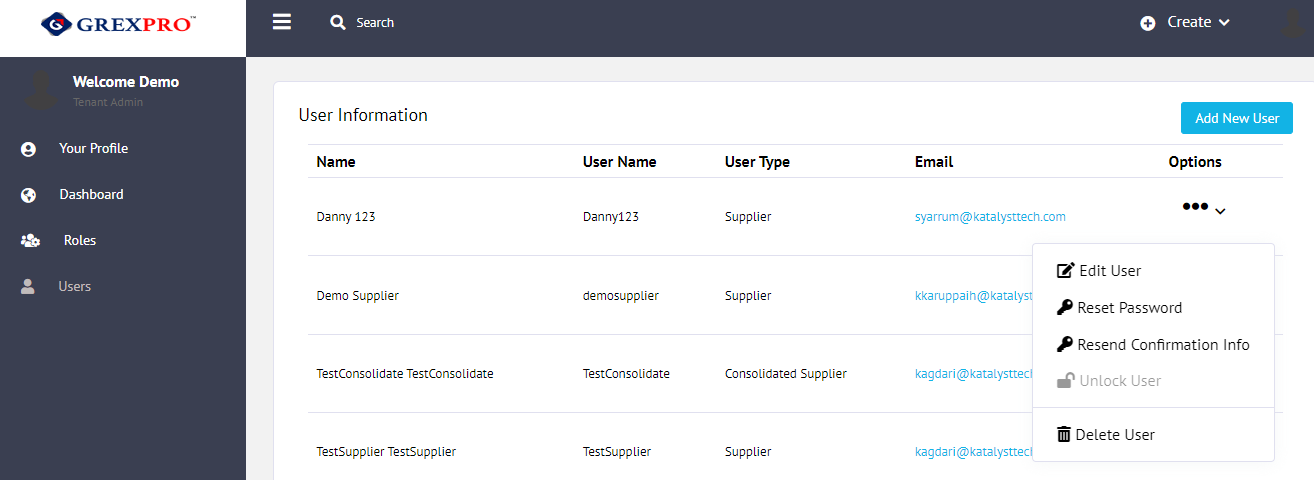
From this page, admin can edit, update, and delete the users as shown below:
By filling in all the details, you simply need to click on the Register button to complete the process. You can select multiple sites by holding the Shift button. You can create Tenant User, Supplier, and Consolidated Supplier.

Once the account has been registered, the user can confirm the account by the mail received in the registered email id.

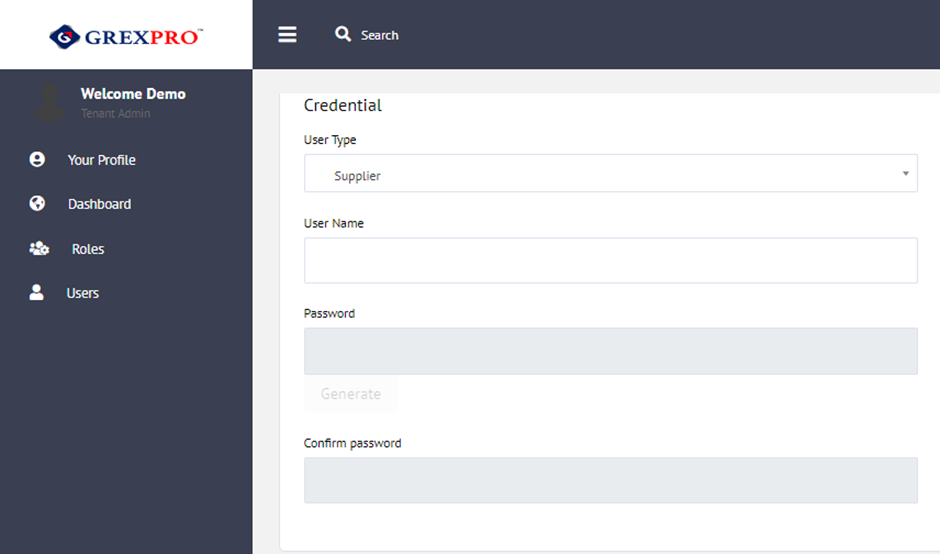
Tenant admin can create a Supplier, and that supplier can see order details related to the specific vendor.

Once the account has been registered, the user can confirm the account via the mail received in the registered email ID.
The admin needs to fill out the details and click “Save.”
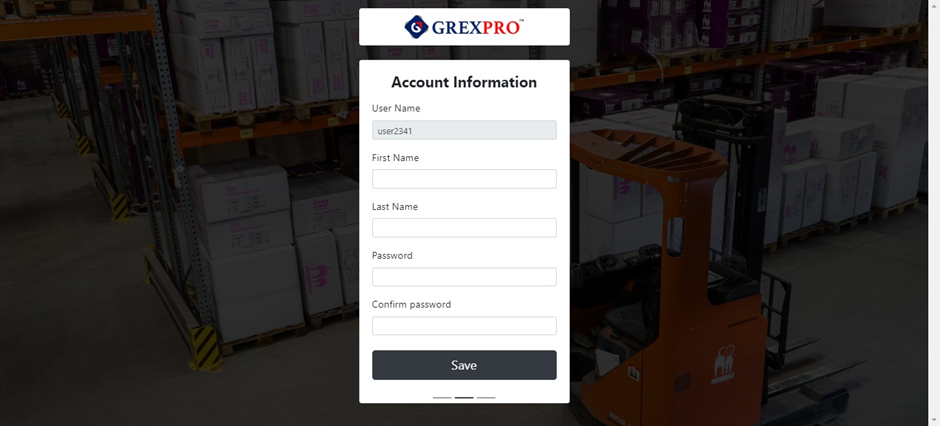
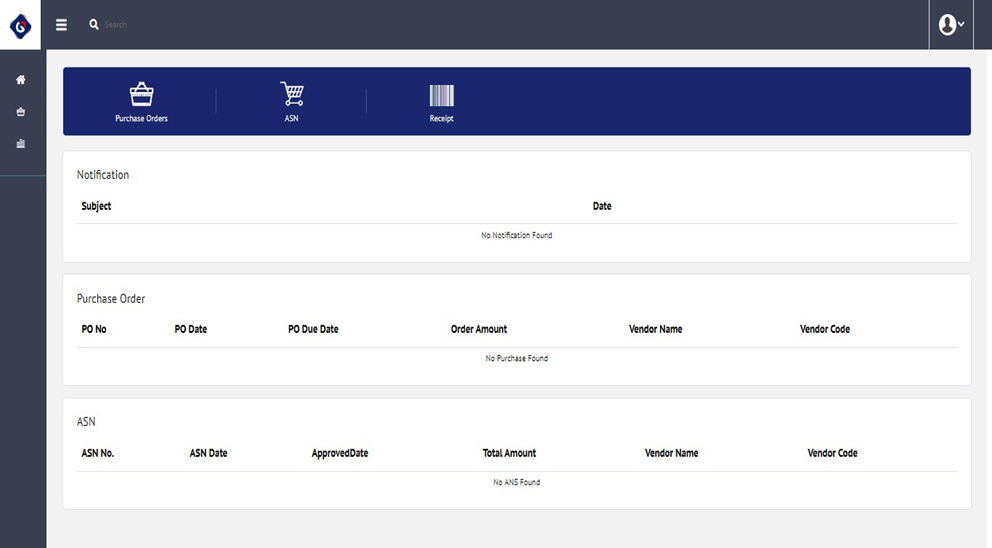
When the user logs in to the Supplier Account, the following page will be opened:
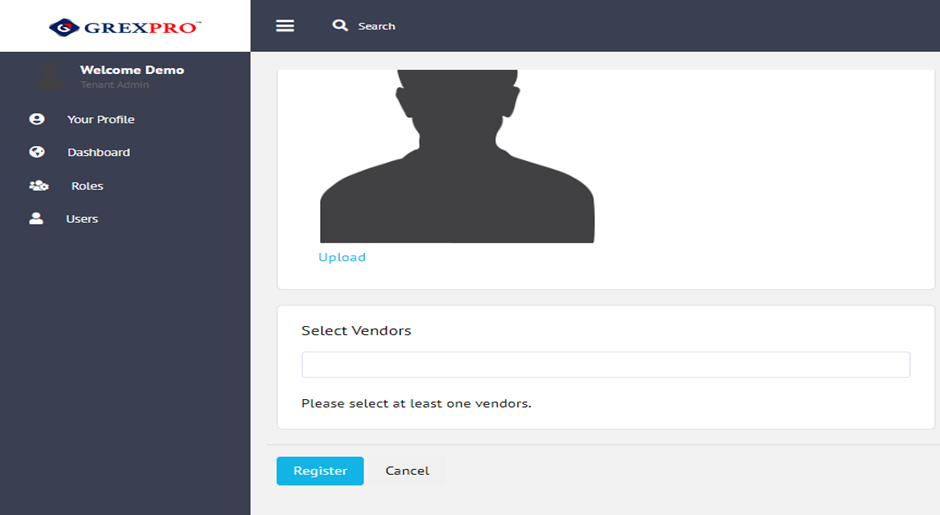
Tenant admin can create a Consolidated Supplier and give access to multiple vendors.
You can see the login ID on the top right. By clicking on that area, you will see the Sign Out button. It is always safe and advisable to log out of the system.
This option is available in the area that is visible after clicking on the login ID located at the top right corner of every screen. This button will take you to the page with complete information about the latest version of the GrexPro WMS. It will be a static page.